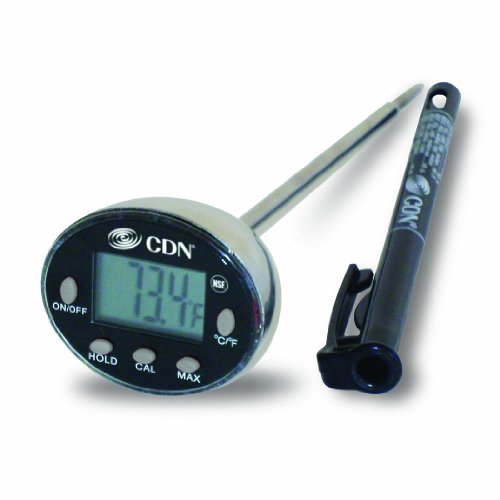
A properly calibrated Milk Thermometer is an important addition to the tool kit for all barista's and coffee aficionado's. Whether it is for use in a home or cafe environment it is important to regularly check and calibrate your thermometers to ensure temperature accuracy. We take a look below at the easy steps you can follow to ensure you always have an accurately calibrated milk thermometer ready for use.
You Will Need:
- Milk Thermometer
- Digital Food Grade Thermometer
- Milk Pitcher
- A Pair of Pliers
- Ice & Water
- Boiling Water
What is Calibration?
Calibration means to check the readings of (an instrument) with those of a standard in order to check the instrument's accuracy.
We will be making sure our milk thermometer's readouts are the same as a digital thermometer which is known to be accurate.
Can Your Thermometer be Calibrated?
The Small nut used to adjust the temperature readout.
Before going through all the steps to calibrate your milk thermometer, have a quick check to make sure it is adjustable and able to be calibrated. You can easily check this by looking on the underside of the temperature readout face. Where the temperature probe meets the back of the readout, if there is a small hexagonal nut - then you will be able to calibrate your thermometer.
Your Control Thermometer
Your control thermometer, must be known to have a true and correct readout. Without this you may be resetting your milk thermometers to an inaccurate setting. For accuracy, a digital food grade thermometer will be suitable here - preferably one that is advertised as never requiring calibration.
Make it Hot, Make it Cold
To begin the calibration process, fill one milk pitcher with ice and water. Fill the other with freshly boiled hot water. This will be used to calibrate your milk thermometer for both hot and cold temperatures to ensure accuracy at both ends of the temperature range that you would usually steam milk in.
Start Calibrating!
Place all of the milk thermometers you want to calibrate into the ice bath, along with the digital thermometer.
Wait for the temperature readouts on all of the thermometers to come down until they stop.
Next, check the readout on all of the thermometers. If the readout on a thermometer is the same as the digital thermometer, take it out.
If it is different, use the pliers to move the hexagonal shaped nut underneath either clockwise or anticlockwise until the needle on top shows the same temperature as the digital thermometer.
Once you have checked and adjusted all the thermometers in the ice bath, transfer them all to the hot water. You will need to wait for the readout to increase and level out.
Repeat the same process of checking the hot temperature readouts and comparing them to the digital thermometer's readout. Again if the temperatures are the same, remove the milk thermometer. If they are different use the pliers to adjust the nut underneath until the needle shows the same temperature as the digital thermometer.
The last step is to put them back into the ice bath and check that all of the thermometers return to the same cold temperature. By this stage they should all be showing the same readout. If a thermometer is still different, it could be faulty and in need of replacement.
Now, congratulations! You have successfully calibrated your milk thermometers. If your thermometers are for home use, you may chose to do this once per week or fortnight depending on how many times a day you use them. If you are doing this for a commercial setting, thermometers should be checked every morning before commencing trade to ensure accuracy.
Items Used:
To purchase any of the equipment used in this post, follow the links to equivalent items on Amazon.


